How to create a Lesson using the Board Game Component?
This component provides a better way to evaluate the users’ knowledge in an interactive manner. They solve puzzles laid out on a board and click level icons to enter a level. Users are rewarded with success videos when they succeed and failure videos when they fail in each level. At the very end of the game there is a final reward video and a summary. This component’s background, icons, videos and all other contents are customizable.
When to use this Component
You can use this component when you want the students to answer in an interactive manner. You can place Multichoice, Fill in the Blanks and Drag and drop questions here and there on the Board Game which will increase the enthusiasm of the students especially children.
How it works
-
The user clicks Start button on the home page of the Board Game to start the game
-
Then he/she clicks on any of the images on the home page to play that quiz, i.e. mini game. These images are called Hotspots.
-
In that mini game, the user clicks the Start Quiz button.
-
The questions appear in slides subsequently, and the user answers them.
-
After answering all the questions, the user clicks the Finish button.
-
If the user has got enough points in the quiz, he will be shown a victory video. Otherwise, he/she will be shown a video indicating that he/she has failed. The user can also skip that video.
-
The scores are shown for the quiz. The user can click the Finish button to quit the quiz, or click the Show solution button to see the answers.
-
Once the user has clicked the Finish button, he/she will be taken to the home screen.
-
The image for the just finished quiz will have changed depending on whether the user has passed or failed in that quiz.
-
A progress indicator image on the bottom left side will change according to the progress of the user in the Board Game.
-
The user can click on the next hotspot image to take the next quiz. Similarly, he/she can take the all the quizzes in the same manner
-
The progress indicator image will change reflecting the progress of the user each time.
-
Once the user has passed in all the quizzes, he/she will be shown an overall victory video with results.
Features of this Component
-
This is one of the most interactive components in the Responsive E-learning Components.
-
It can be configured easily.
-
You can upload your own images and videos to the quiz.
-
You can add as many hotspots as possible.
-
You can add introduction texts optionally for the game and quizzes.
-
The hotspots can be placed as per your design on the home page.
-
You can have several questions in slides inside a quiz and your progress in these slides can be highlighted in dots or text.
-
You can explicitly set the pass percentage for the quizzes individually.
-
Most of the options in this component are optional and you can use them as per your design. You can also create a simple Board Game with minimal options.
-
You can customize all the messages that appear in the game.
You can create a page using this component by following the below steps.
Step 1: Go to the required Slide
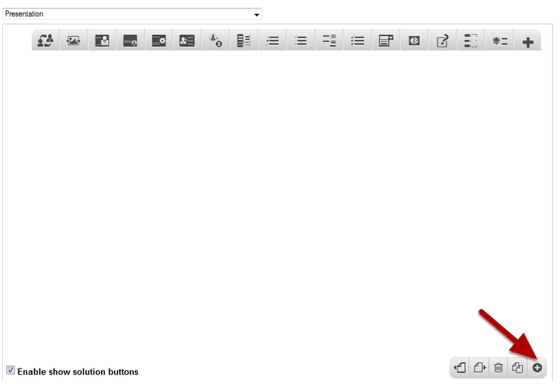
If you are creating a new Presentation, you will be taken to the first slide where you can use this component and create a page. Alternatively, if you want to add a new slide where you want to use this component, click on the '+' icon on the lower right corner as shown in the above image.
Step 2: Click on the Board Game Component Icon
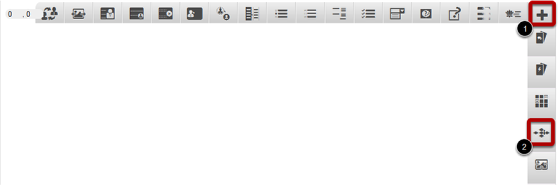
Then click on the More elements [1] icon and click the Board Game [2] component icon as shown in the above image. You will see a screen similar to the image shown below.
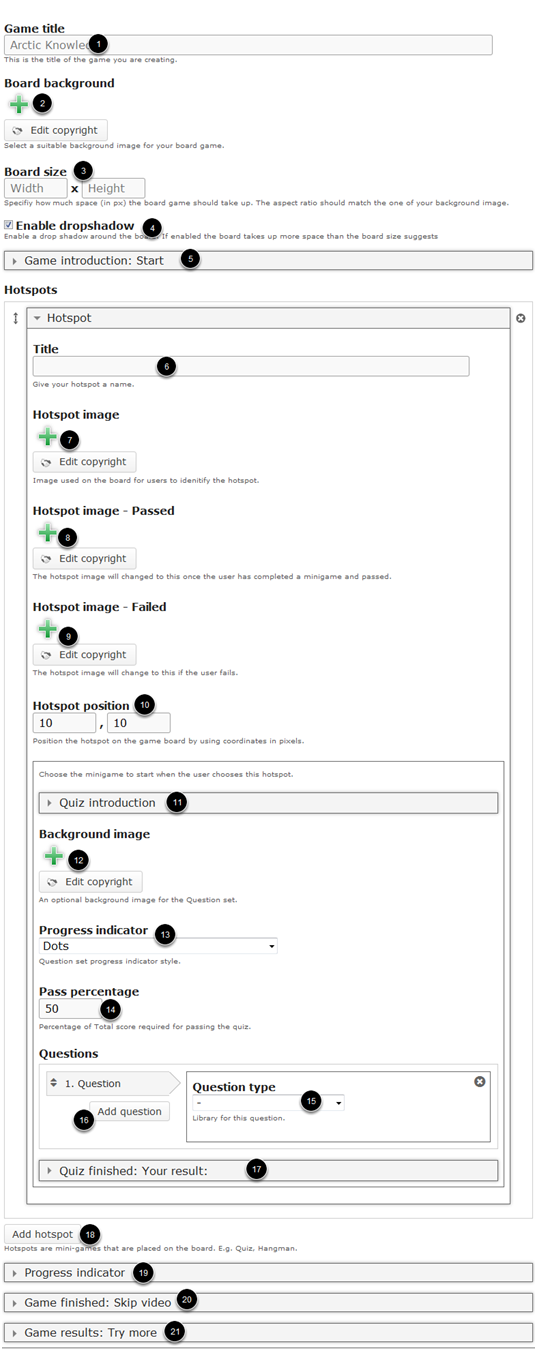
On this screen, you can
-
Add a title to the game in the Game title [1] field
-
Add an optional background for the board using the Board background [2] title
-
Set the width and height of the board in the Board size [3] fields.
-
Enable the dropshadow effect around the board by clicking on the Enable dropshadow [4] checkbox.
-
Add a description to the game on the Game introduction: Start [5] field.
-
Add hotspots for the game. You can type the title of the hotspot in the Title [6] field under the Hotspots title.
-
Add a generic or initial image for the hotspot using the Hotspot image [7] field.
-
Add an image to indicate that that the user has passed in the quiz using the Hotspot image Passed [8] field.
-
Add an image to indicate that the user has failed in the quiz using the Hotspot image Failed [9] field.
-
Position the hotspot by specifying the coordinates in pixels under the Hotspot position [10] field
-
Add introduction to the mini game under the Quiz introduction [11] field.
-
Add an optional background image for the Question set using the Background image [12] field.
-
Select the format of the progress indicator under Progress indicator [13] field.
-
Set the minimum percentage to pass in Pass percentage [14] field.
-
Select the type of the question in the Question type [15] dropdown box.
-
Add more questions by clicking the Add question [16] button.
-
Set the format in which the quiz results are displayed under the Quiz finished: Your result: [17] field.
-
Add more hotspots by clicking the Add hotspot [18] button.
-
Enable and update the progress indicator under the Progress indicator [19] field.
-
Add a video marking the end of the game under the Game finished: Skip video [20] field.
-
Display overall results and enable retrying under the Game results: Try more [21] field.
Step 3: Add a Title

Enter the title of the game in the Game title field as shown in the above image.
Step 4: Add Board Background Image (Optional)
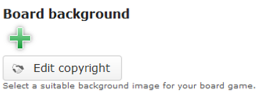
You can add an optional background image by clicking the ‘+’ button shown in the above image. You will see the below screen.
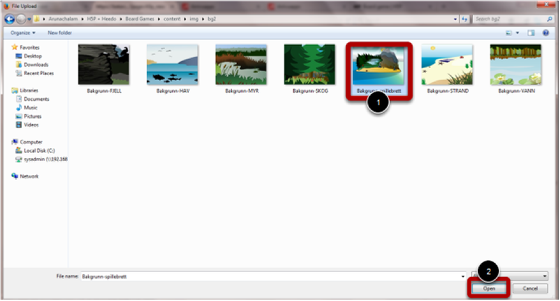
Go to the relevant folder in the window that appears and select the background image [1] that you want to add. Then double click on the image or click the Open [2] button as shown in the above image.
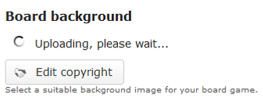
You can see the image being uploaded as shown in the above image. Once the image has been uploaded, you can see the uploaded image as shown in the below image.

You can remove the uploaded image file by clicking the Remove file [1] icon shown above. You can also click the Edit copyright [2] button to update the copyright details of the image. Once you click this button, you will see the below screen.
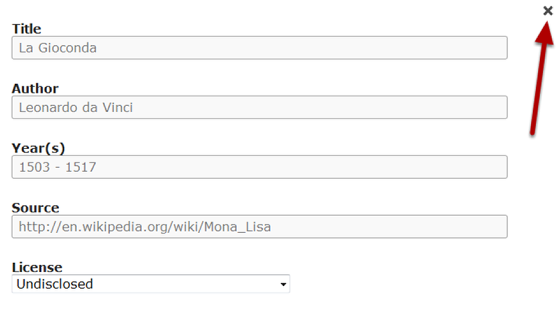
You can update the copyright details of the image in the above screen and click the Close button shown above to save the changes.
Step 5: Set the Board Size

Specify how much space the board game should take up. The dimensions should be mentioned in pixels. Please note that the aspect ratio should match the background image that you've just uploaded in the previous step.
Step 6: Enable Dropshadow (Optional)

Enable a drop shadow around the board by clicking the Enable dropshadow [1] checkbox shown in the above image. If this option is enabled, the board takes up more space than the board size suggests.
Step 7: Add Game Introduction (Optional)

You can add some introduction text for the game by clicking the arrow button [2] shown in the picture in step 6. Once you click it, you will see the above screen. In this screen, you can enter the introduction text in the Welcome and instruction text [1] field. You can also format the text. You can also change label text of the button the user has to click to start the game in the Button Text [2] field. In our case, we have typed Start.
Step 8: Add Hotspots

Start adding hotspots under the Hotspots title. You can add the title of the hotspot in the Title field shown in the above image.
Step 9: Add Hotspot Images
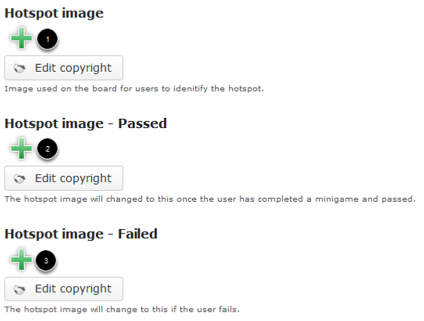
You can add 3 types of hotspot images for each hotspot. They are:
-
Hotspot image: This is the image that will appear initially for the hotspot on the board’s home page. You can upload an image for this field by clicking the + icon under the Hotspot image [1] field.
-
Hotspot image - Passed: This is the image that will appear on the board’s home page if the user has passed in the relevant mini game. You can upload an image for this field by clicking the + icon under the Hotspot image - Passed [2] field.
-
Hotspot image - Failed: This is the image that will appear on the board’s home page if the user has failed in the relevant mini game. You can upload an image for this field by clicking the + icon under the Hotspot image - Failed [3] field.
You can follow step 4 to upload images and update the copyright details of the images. The resultant page will look like the below image.

Step 10: Set the Type of the Progress Indicator
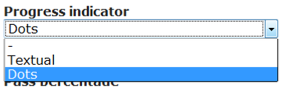
You can change the way the progress of the quiz is shown. Click the Progress indicator dropdown menu shown above and select any of the below two available options.
1. Textual: If this option is selected, the progress will be shown in text, just like the one shown in the below image

2. Dots: If this option is selected, the progress will be shown in dots, just like the one shown in the below image
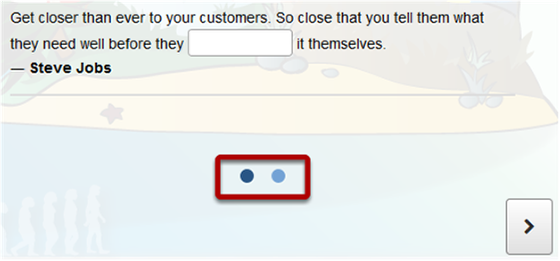
By default, the progress indicator is set to Dots as shown in the above image.
Step 11: Set Pass Percentage
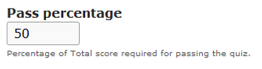
Set the percentage of total score for passing the quiz in the Pass percentage field as shown in the above image.
Step 12: Add Questions
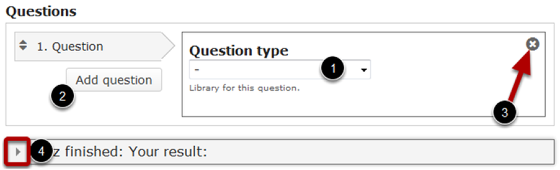
Start adding questions to the quiz. You can select the type of the question from the Question type [1] dropdown menu. The available 3 types of questions are:
-
Multichoice Questions
-
Fill in the Blanks
-
Drag and drop into Image
You can check the documents for these components to learn about the settings and how to create questions with these components.
Once you’ve added a question, you can add more questions by clicking the Add question [2] button shown in the above image. You can also delete a question by clicking the Remove [3] button shown in the above image.
Step 13: Edit Results Display Options (Optional)
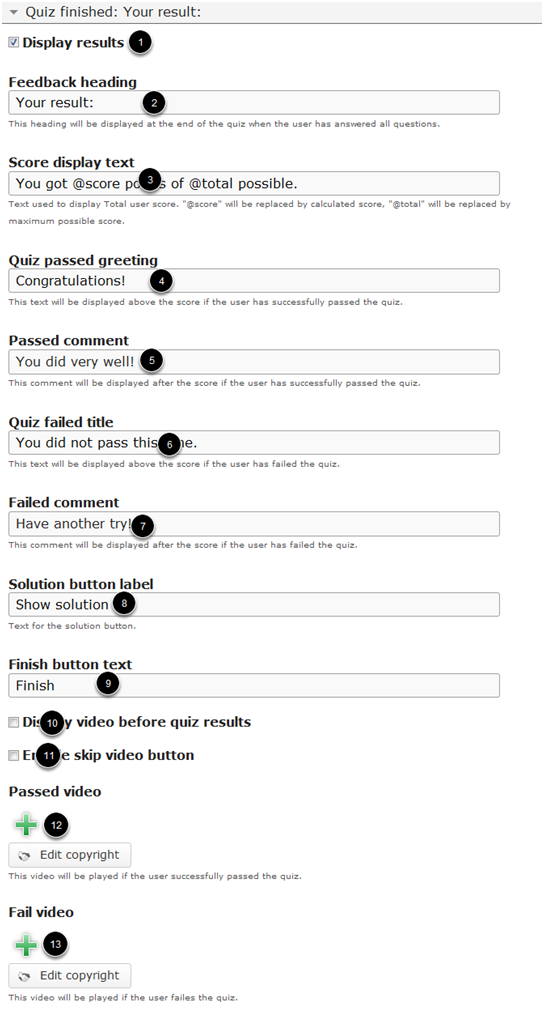
You can optionally change the way the results are displayed after the quiz is finished. To do that, click the arrow button [4] shown in step 11.You will see the above screen. A short description about the fields in the above image can be seen below.
-
Display results [1]: Check this checkbox if you want to display the results. This button will override all the options you update in the above screen. This is checked by default.
-
Feedback heading [2]: This heading will be displayed at the end of the quiz when the user has answered all questions.
-
Score display text [3]: This text used to display Total user score. "@score" will be replaced by calculated score, "@total" will be replaced by maximum possible score.
-
Quiz passed greeting [4]: This text will be displayed above the score if the user has successfully passed the quiz.
-
Passed comment [5]: This comment will be displayed after the score if the user has successfully passed the quiz.
-
Quiz failed title [6]: This text will be displayed above the score if the user has failed the quiz.
-
Failed comment [7]: This comment will be displayed after the score if the user has failed the quiz.
-
Solution button label [8]: The text that will appear on the Solution button.
-
Finish button text [9]: The text that will appear on the Finish button.
-
Display video before quiz results [10]: If you add a video to be displayed just before the quiz results are displayed, then check this checkbox.
-
Enable skip video button [11]: If you want to enable to skip the video while it plays after displaying the quiz results, check this checkbox.
-
Passed video [12]: Add a video that will be played if the user successfully passed the quiz.
-
Fail video [13]: Add a video that will be played if the user successfully failed in the quiz.
To add a video, click the + icon in this field, go to the specified folder, select the video and double click on it or click the Open button. You can also edit the video’s copyright details by clicking the Edit copyright details button below the + icon. Please note that you can upload videos only in .mp4 and .webm formats currently.
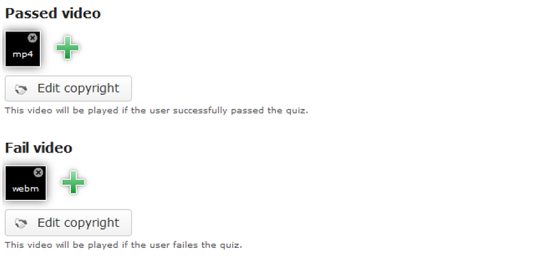
Once uploaded, the videos will be shown on the screen just like the above picture.
Step 14: Add more Hotspots (Optional)
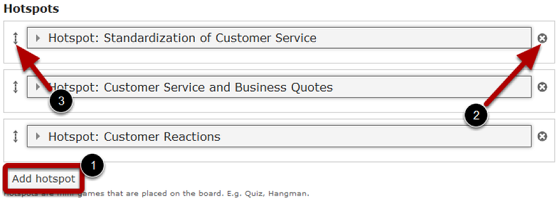
You can add more hotspots by clicking the Add hotspot button [1] shown above. Thereafter, you can update the hotspots by following the steps we saw earlier. On the above image, you can see 3 hotspots added to the board. You can remove a hotspot by clicking the Remove Hotspot [2] and move the hotspots by dragging and dropping the double headed arrow [3] shown in the above image.
Step 15: Update Progress Indicator for the whole Game (Optional)
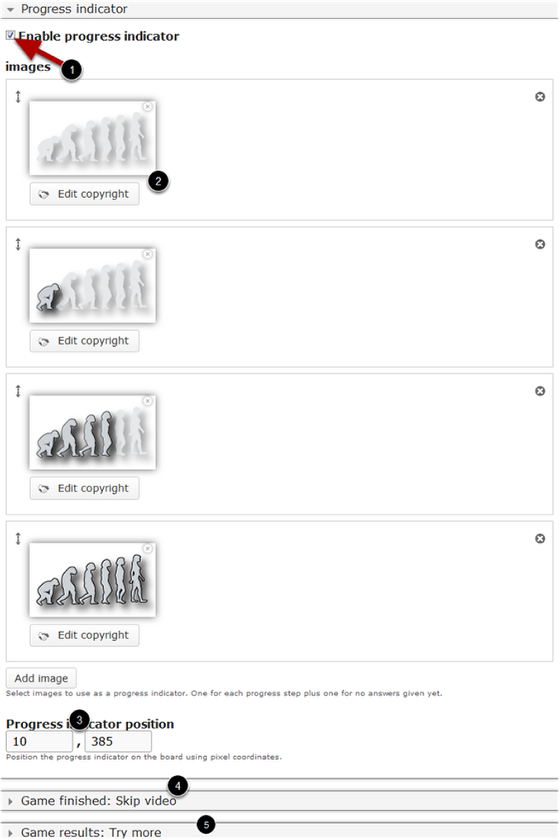
You can add images to notify the user's progress in the game. To do that, check the Enable progress indicator [1] checkbox shown above. By default this checkbox is unchecked.
You can add a series of images as per the number of quizzes in your board game. For example, we have 3 quizzes, so we need to upload 3 images showing progress and one another image to show that the user hasn't started or passed in any quizzes. In the above image, you can see an image [2] has been initially added. This image will be shown if the user hasn't started or passed in any quizzes. You can also see 3 subsequent images have been added to be shown according to the progress of the user. You can also edit the copyright details by clicking the relevant buttons.
You can set where the progress indicator should be shown in the Progress indicator position [3] fields. You have to mention it in pixel coordinates.
Step 16: Add Finished Video (Optional)

This is the final video that will be displayed after the user has passed in all the quizzes and just before the overall scores are displayed. To enable the video, click on the arrow button the Game finished: Skip video [4] field in step 15. You will see the above screen. On this screen you can upload a video by clicking the + button under the Finished video [1] title. If you want to allow the user to skip the video while playing, check the Allow skipping of finished video [2] checkbox. You can also update the label for the button the user has to click to skip the finished video in the Skip button text [3] field as shown in the above image.
Step 17: Display overall Results for the Game (Optional)
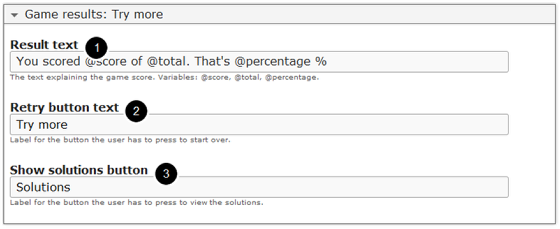
You can edit the way the results are displayed after the user has passed all the quizzes. To do that, click on the arrow button the Game results: Try more [5] field in step 15. You will see the above screen. On this screen, you can edit the below details:
-
Result text [1]: The text explaining the game score. Variables: @score, @total, @percentage.
-
Retry button text [2]: Label for the button the user has to click to start over the game
-
Show solutions button [3]: Label for the button the user has to click to view the solutions.
Step 18: Click the Done Button
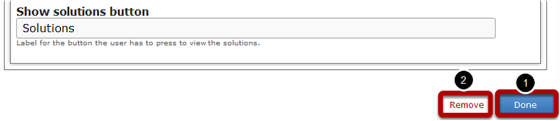
Once you've updated all the details, click the Done [1] button shown above to complete editing the page. You can cancel creating the page just by clicking the Remove [2] button shown above. If you click the Done button, you will see the below screen with a preview of the created page.
Step 19: Click the Create Button
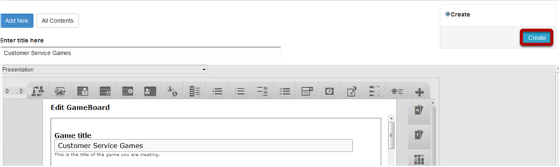
If you still want to edit the page, just double click on the preview page, and you will be taken to the Edit page. If you've done all the changes, you can click the Create button as shown above picture to finish editing the page.
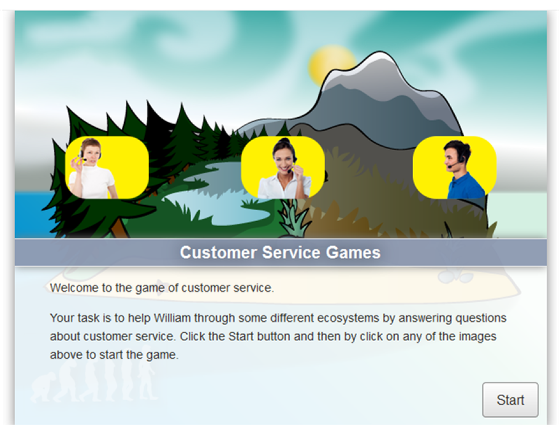
You can see the finished page as shown in the above image.
Notes
-
The board size will automatically be updated to the dimensions of the uploaded board background image. However, make sure both are of the same size.
-
Although it seems to be a complicated component, most of the options in the Board Game are only optional. So, you can easily create new lessons with this component.
-
Select simple appropriate images and videos.
-
By default, this component requires you to answer all the questions to view the solutions. If you want to disable this option, uncheck the Require user input before the solution can be viewed checkbox in the relevant component
-
You can upload thumbnail images in .jpeg, .png and .gif formats only.
-
You can upload videos in .mp4 and .webm formats only.
-
Although not mandatory, it’s advised to add images for Hotspot image, Hotspot image - Passed and Hotspot image - Failed fields.
-
Place the hotspots and Progress indicator position images by trial and error methods, i.e., mention the coordinates, have a preview and then change the coordinates until you place them correctly.
-
Most of the options in this component are self explanatory.